
Why a meat prep room is not the same as general prep
A general prep area can handle vegetables, sauces, bakery work and plated items if the workflow is sensible. A meat prep room needs a tighter layout because raw meat brings a higher hygiene risk, stronger odours, more liquid waste and a bigger cleaning load at the end of each shift. If the room is mixed-use, staff tend to cross back and forth with knives, trays and containers. That is where contamination starts.
For restaurants, hospitals and canteens in Durban and the North Coast, the room also has to cope with heat and humidity. On a hot afternoon in Glen Anil or Pinetown, meat left out for too long sweats faster and the room gets sticky quicker. A proper meat prep room supports a short, clear path from chilled storage to cutting, weighing, packing and back into cold storage again.
In practice, the room should be dedicated where possible, with its own sink, handwash point, splash protection and washable finishes. If you are still planning the kitchen, treat the meat room as a separate zone, not a leftover space.
The cold chain starts before the first cut
Good meat prep begins with temperature control. Raw product should move from refrigeration into prep with minimal delay, then back into cold storage or cooking. In KwaZulu-Natal, power interruptions and load-shedding make this even more important because the room must be close to chilled storage and easy to work in quickly. Every extra metre matters when staff are carrying boxes, trays or carcasses.
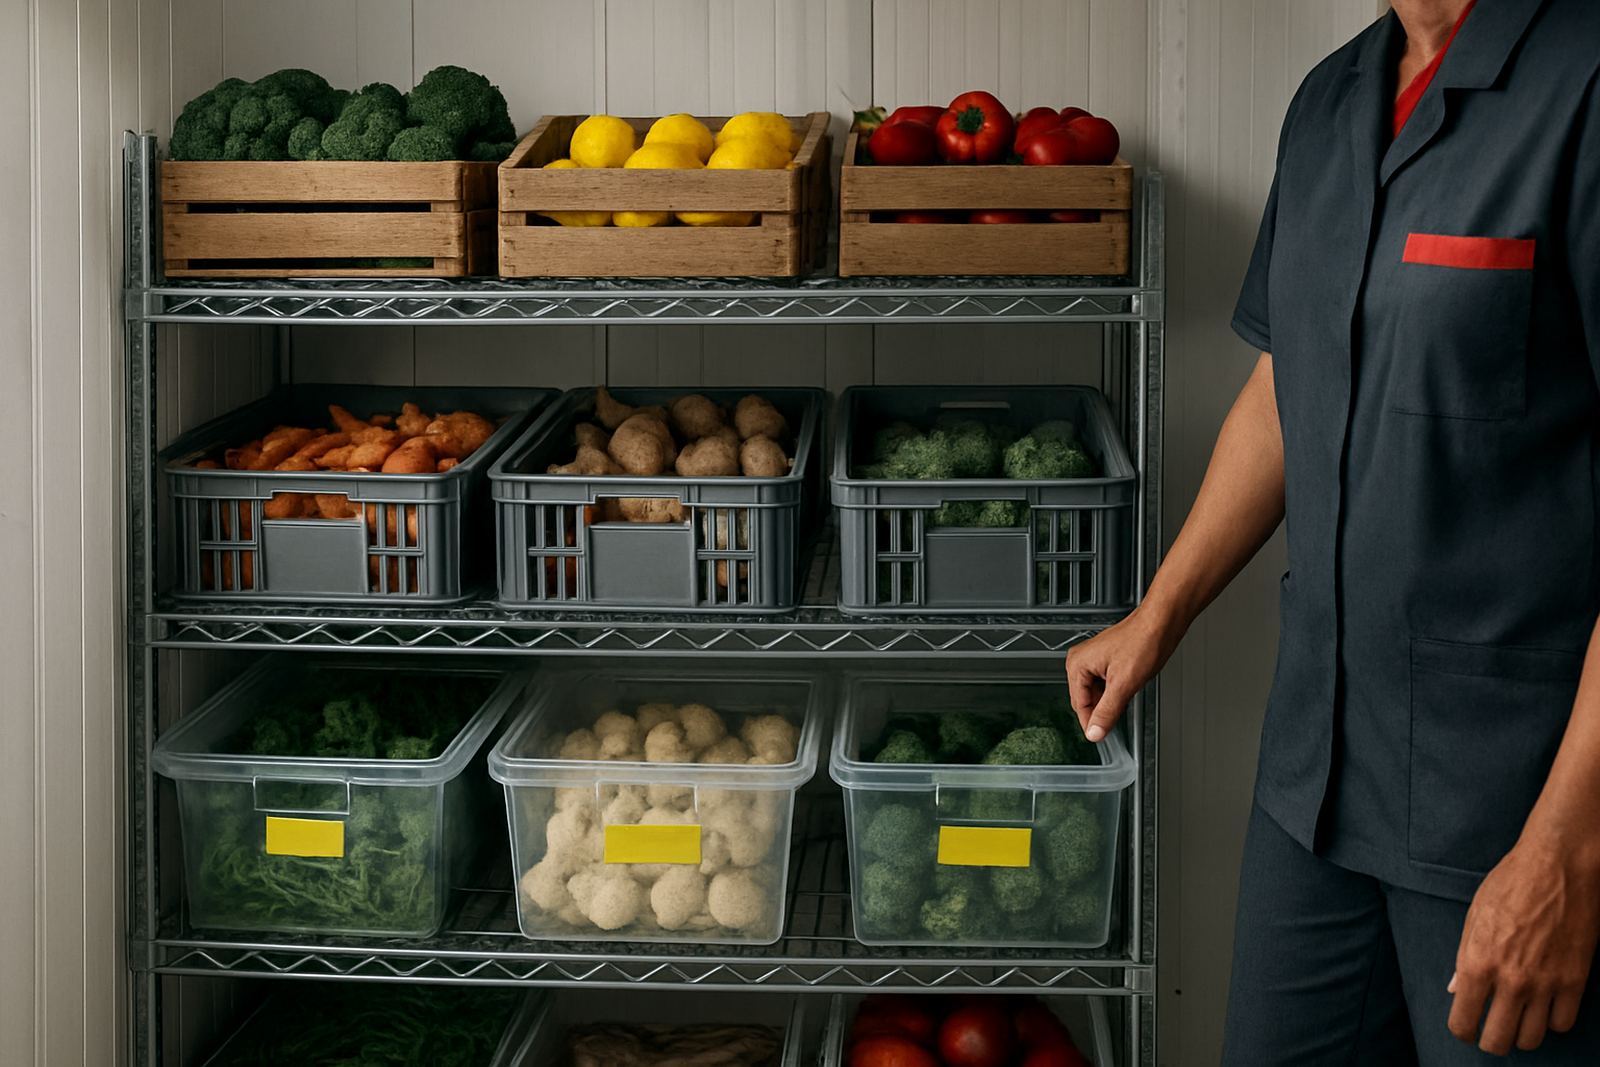
Cold rooms, upright fridges and undercounter refrigeration should be positioned so meat enters the room without crossing other prep lines. If the room is far from the receiving bay or store, staff waste time and the product warms up. That is bad for quality and a problem for food safety.
- Place chilled storage as close as possible to the meat prep point
- Use lidded containers or sealed trays for portioned product
- Keep door openings short and reduce foot traffic through the room
- Plan a backup power approach for refrigeration, especially in coastal areas
In Ballito and Umhlanga, coastal moisture can also affect seals, hinges and door closures over time. It is worth specifying equipment and fittings that can handle frequent cleaning and salty air.
Floors, drains and wall finishes that can take daily wash-downs
A clean meat prep room must be easy to hose down and sanitise. That starts with the floor. Non-slip, washable flooring with a suitable fall to drain points helps remove blood, rinse water and cleaning chemicals without pooling. Standing water is a hygiene issue and a slip risk for staff.
Wall finishes should be smooth and sealed, with no open joints where dirt can collect. Corners need to be easy to clean, and any exposed timber or rough plaster should be avoided. The room should not trap smells either. A poor finish may look fine on day one but becomes difficult to manage after a few months of heavy use.
- Use coved skirting where possible to reduce dirt traps
- Fit floor drains in sensible positions, not where trolleys stand
- Keep the room fully washable from floor to shoulder height or higher
- Specify stainless or moisture resistant fittings where they are likely to get wet
For hospitals and larger canteens, this level of finish is not a luxury, it is the difference between a room that gets cleaned properly and one that gets avoided because it is awkward to work in.
Separate tools, sinks and handwash points reduce cross contamination
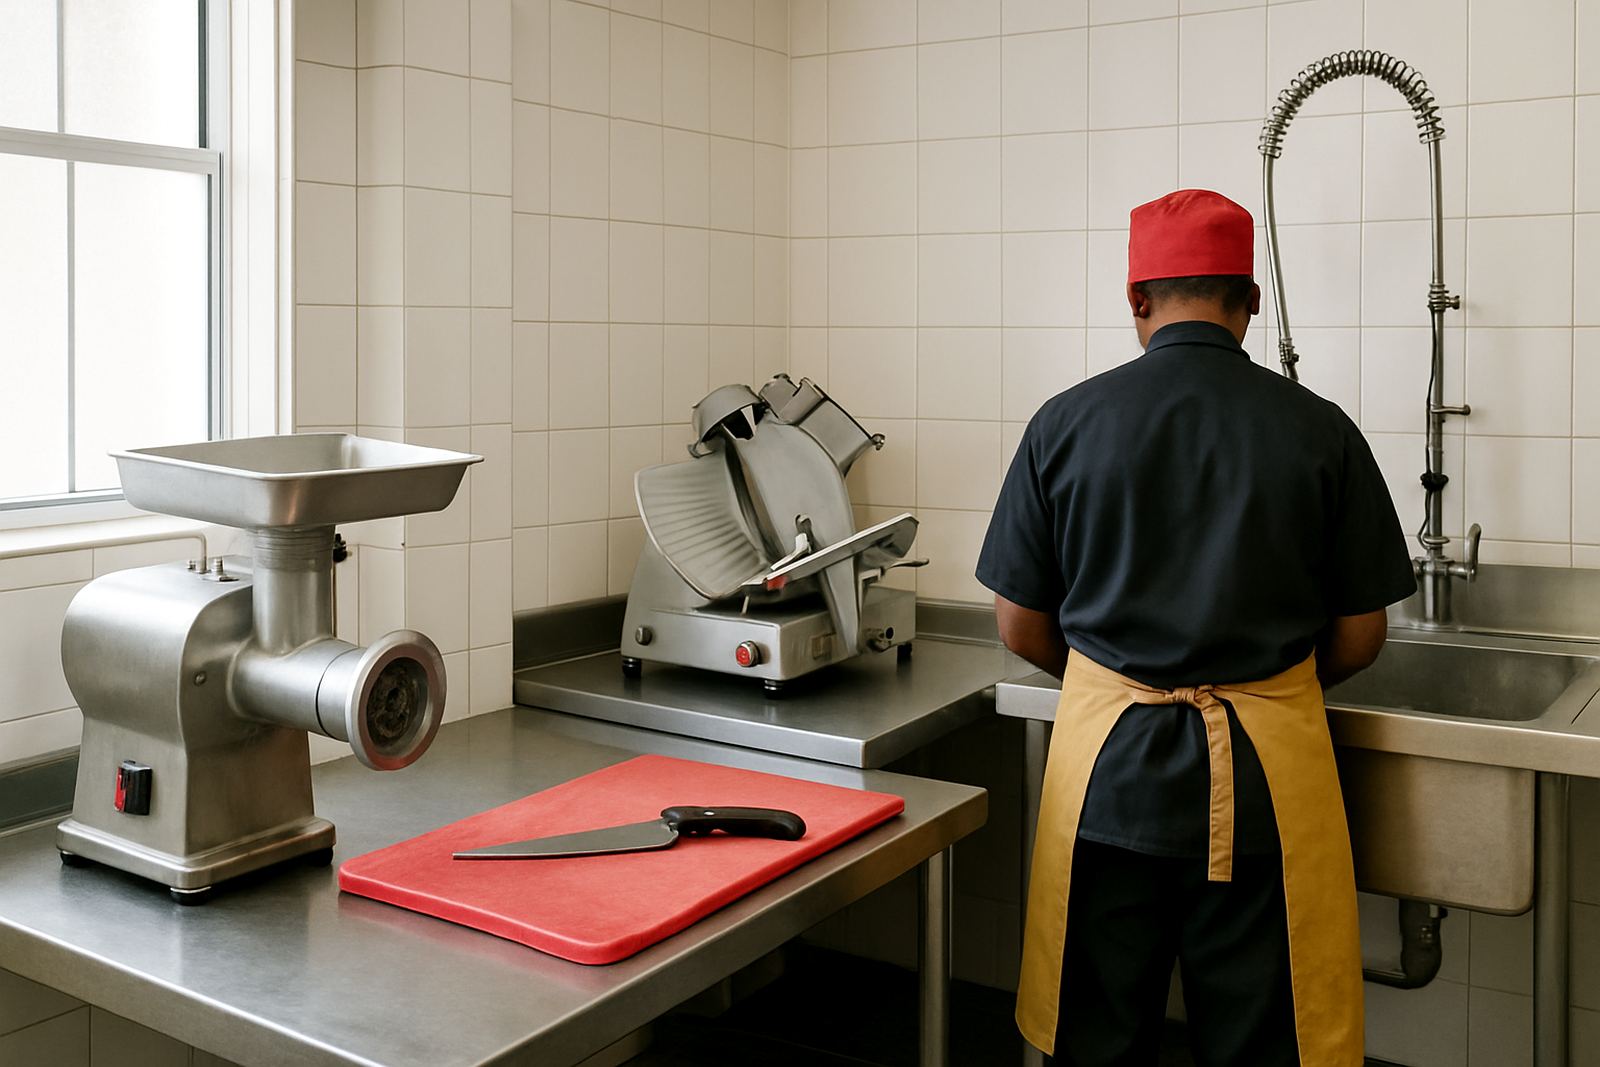
One of the clearest signs of a proper meat prep room is separation of tools and tasks. Raw meat should not share knives, boards, buckets or bins with vegetable prep. Staff need clear storage for meat-only equipment, and they need quick access to handwash points so they do not skip hygiene steps when the room gets busy.
If you are designing the room, think about the order of work. Receiving, inspection, trimming, portioning, weighing, packing and waste removal should follow one direction. Reverse movement creates confusion. In a busy Durban kitchen, that usually means someone carrying clean product past dirty waste bins, which is never ideal.
Useful room features include:
- Separate handwash basin with soap and disposable towels
- Dedicated knife sterilising or sanitising point where required
- Colour-coded storage for meat-only tools and trays
- Waste bin placement that does not block cutting or cleaning areas
Staff training matters too. Even a well designed room can be used badly if people are not shown the correct sequence for cleaning, sanitising and storing equipment after each shift.
Extractor planning and ventilation keep the room workable
Meat prep rooms do not usually need the same extraction load as a cooking line, but they do need proper air movement. Without it, odours linger and humidity rises. That affects comfort, cleanliness and how long the room stays fresh between shifts. In Durban’s warmer months, poor ventilation can make a meat room unpleasant very quickly.
Extractor planning should work with the rest of the kitchen so air is moved away from prep areas and not blown across open product. Mechanical ventilation may be needed where the room is enclosed or where there is limited natural airflow. It is also important to avoid creating dead spots where warm air and smells sit in the corners.
A practical design will consider ceiling height, door position, refrigeration heat and the cleaning schedule. If the room is used for early morning prep, ventilation should help the space reset overnight so staff start the day with a clean, dry room rather than a damp one.
A local example: a butcher-style prep room in Durban North
A Durban North food service client recently needed a small meat prep room for portioning steaks, chicken and mince for a cafeteria operation. The old setup used part of the main prep area, which caused cross traffic and slow cleaning at close of trade. The new room was laid out with chilled storage just outside the door, a dedicated handwash basin, stainless work surfaces and a floor plan that allowed wash-down water to run straight to the drain.
Because the site sat close to the coast, we also factored in moisture resistant fittings and easy access for maintenance. The team could move from receiving to portioning to packing without crossing the vegetable prep line. That made daily cleaning quicker and reduced the chance of mix-ups. It was not a large room, but it worked because every item had a job and a place.
That is usually the difference between a meat prep room and a general prep area. The room is not bigger for the sake of it, it is simply organised around raw product, cleaning and safe movement.